白屏监控截屏
概览
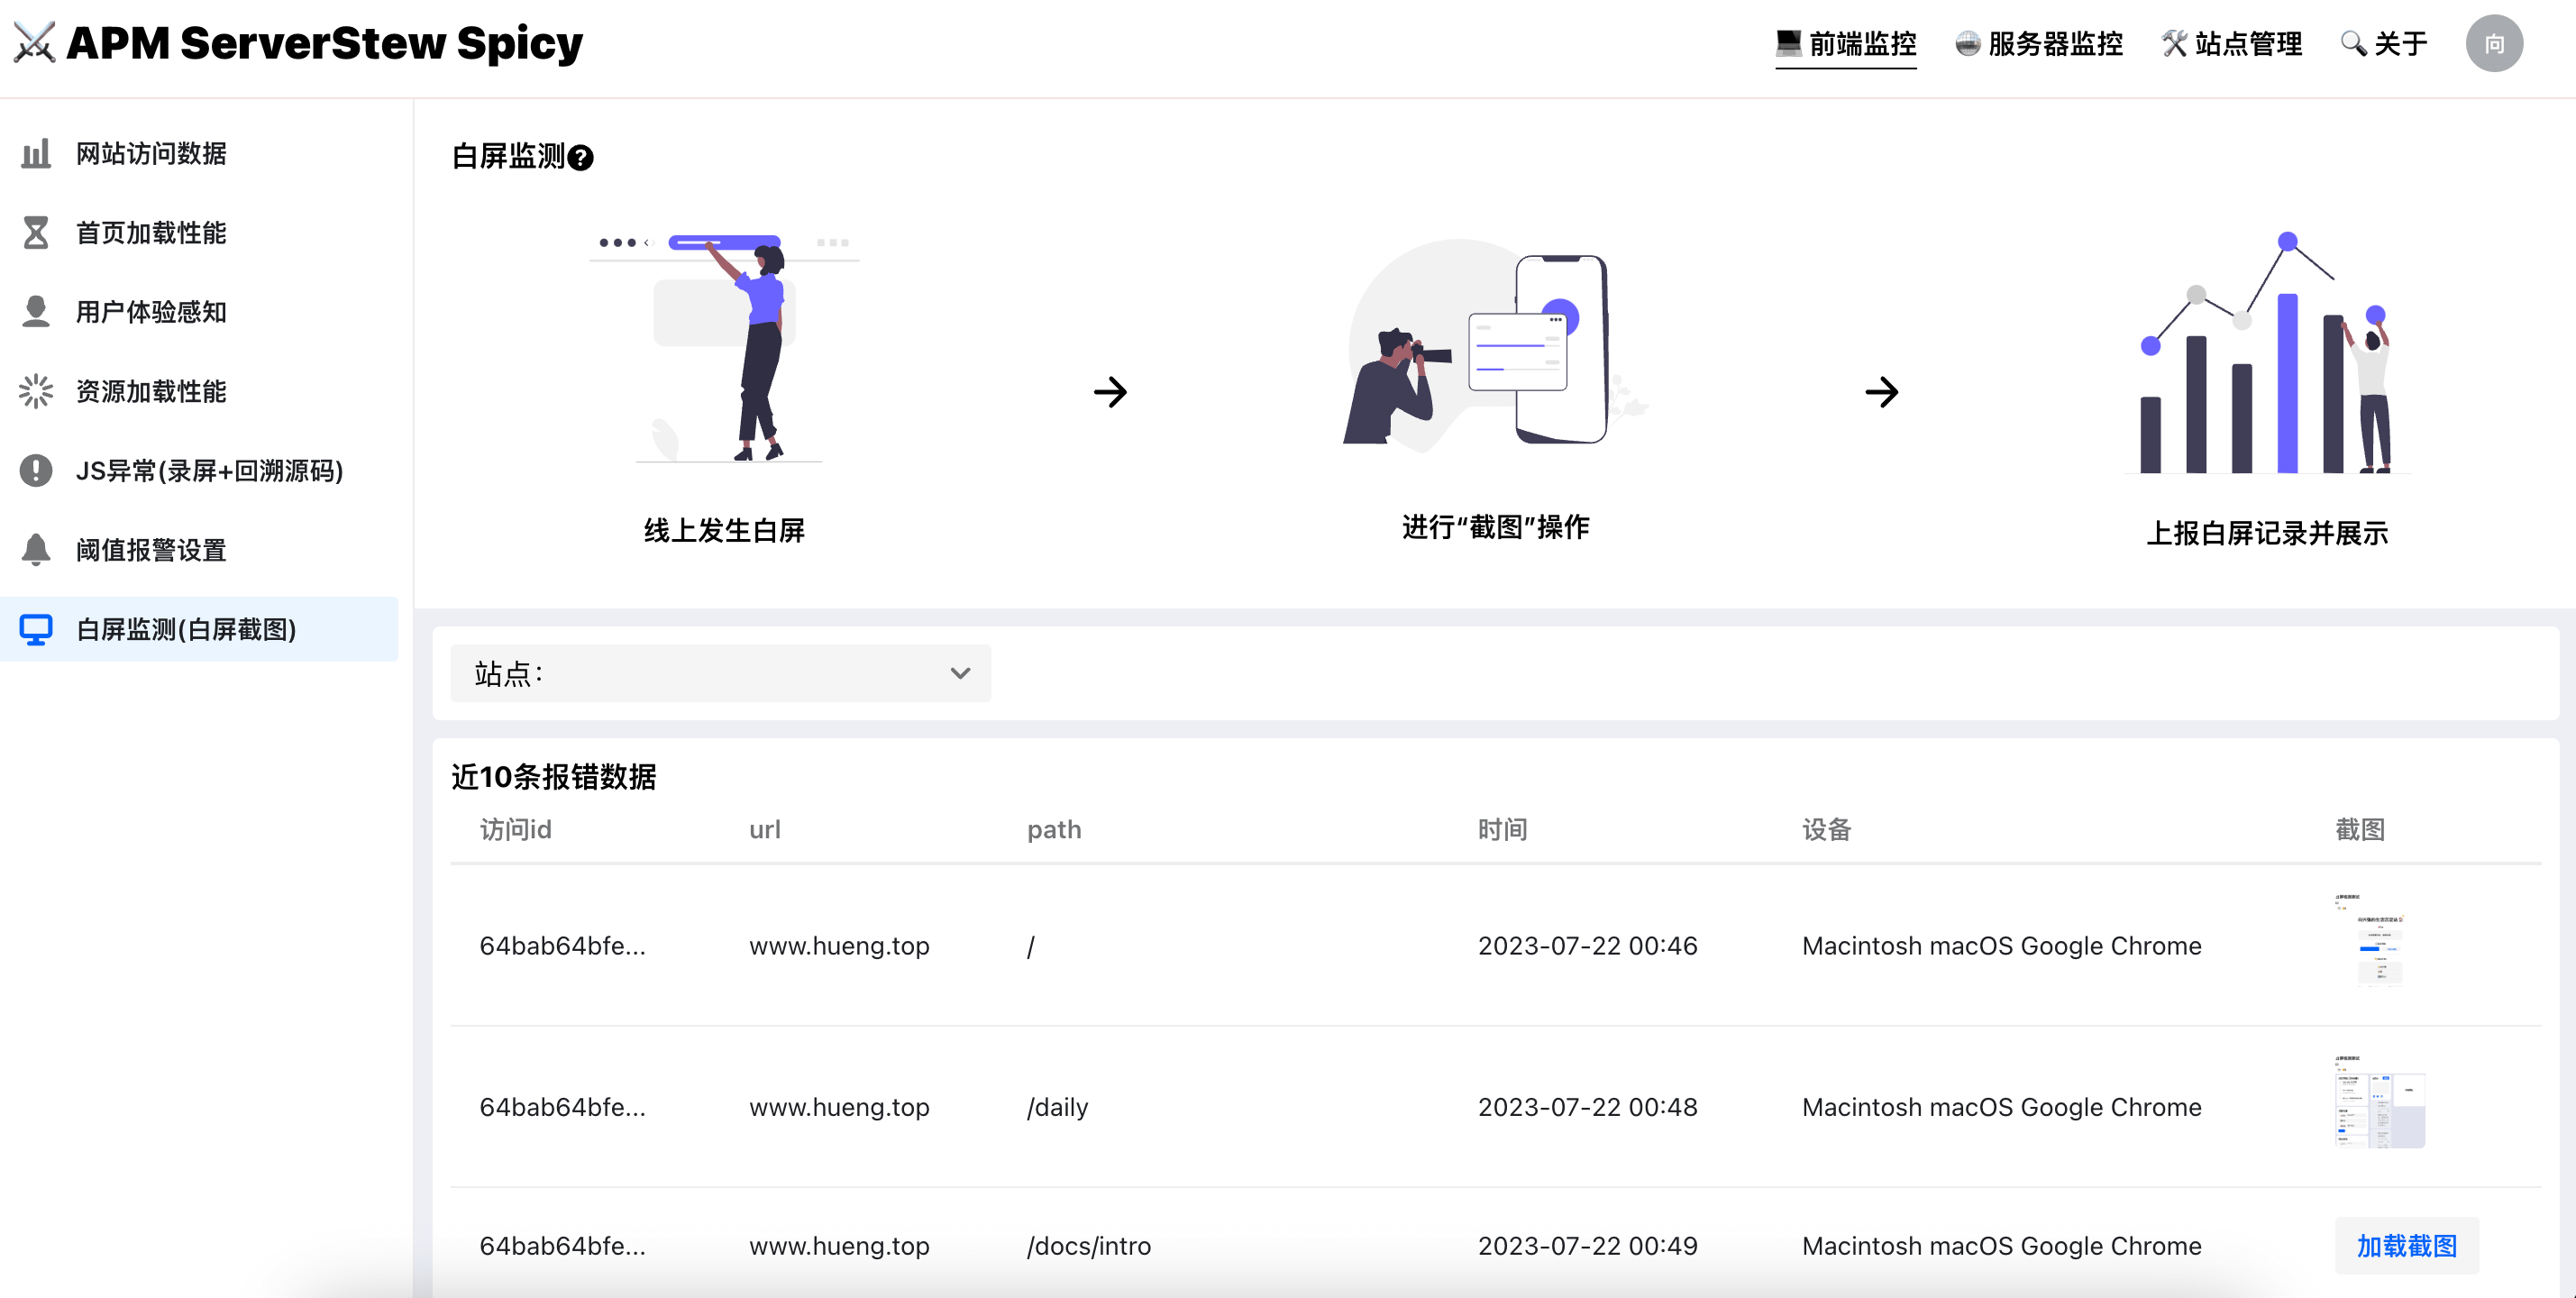
在首页加载时以及路由变换后进行屏幕检测。检测到白屏后进行截屏操作,同时上传数据到服务器。
如何白屏检测
大致的思路是在首页加载后(window onload 事件,即页面所有的资源包括 css js 图片都加载完后并且可以交互了)对屏幕的制定的点进行检测,检测这些点是否有元素。
这里使用到了elementFromPoint这个API,这个 API 的作用是监测在屏幕制定左边有哪些元素。比如document.elementsFromPoint(100, 100);表示在屏幕 x 轴 100px 处,y 轴 100px 处有哪些元素,API 返回一个元素数组,数组第一个元素是最上层的子元素。
如果在首页加载完毕后,window 的 load 事件执行后使用elementFromPoint监测许多的点的第一个元素是body、html又或者是 class 名为app、root的元素,那么大概率是发生了白屏,因为屏幕显示的是最底层的元素,相当于没有任何内容。
这里在屏幕上横竖画一个“十”字,横向监测 10 个点,竖向监测 10 个点,如果监测之后有 2 个或 3 个以上的点的监测结果的第一个元素是上面提到的body、html等元素,那么显然发生了白屏。此时收集相关数据进行上报。
for (let i = 0; i < 9; i++) {
  xElements = document.elementsFromPoint(
    (window.innerWidth * i) / 10,
    window.innerHeight / 2
  );
  yElements = document.elementsFromPoint(
    window.innerWidth / 2,
    (window.innerHeight * i) / 10
  );
  isWrapper(xElements[0], (window.innerWidth * i) / 10, window.innerHeight / 2);
  isWrapper(yElements[0], window.innerWidth / 2, (window.innerHeight * i) / 10);
}
检测时机
在首页加载后进行检测以及在每次路由变化后进行检测。
首页加载时也就是没见进入应用后,在 window 的 load 事件触发后进行检测。然后是在路由变化后进行检测。
这里需要对路由进行监听,浏览器路由有两种情况:history 路由、hash 路由。hash 路由好说,监听 hashchange 事件就好。但是 history 路由的变化检测就没那么简单,监听 popState 事件并不能监听到所有的路由变化,当浏览器历史记录没有被改变时 popstate 并不能监听到路由变化。
这里对pushState和replaceState进行了重写,自定义一个stateChange事件,然后在调用pushState和replaceState方法时出发stateChange事件,并且同时监听原来popstate事件,当事实记录被改变时也能准确的响应。
const stateChange = new Event('stateChange'); // 自定义 stateChange 事件
const originPushState = history.pushState;
const originReplaceState = history.replaceState;

history.pushState = function (...args) {
  // 重写 pushState
  window.dispatchEvent(stateChange);
  return originPushState.apply(this, args);
};
history.replaceState = function (...args) {
  // 重写 replaceState
  window.dispatchEvent(stateChange);
  return originReplaceState.apply(this, args);
};
window.addEventListener('popstate', () => {
  window.dispatchEvent(stateChange);
});

window.addEventListener('stateChange', () => {
  // 监听自定义的 stateChange 事件
  setTimeout(() => {
    console.log('state change!!');
    beforeChangeRoute(); // 执行相应的操作
    checkWhiteScreenWhenRouteChange();
  });
});
截图

为什么要截图
可以对当前的检测进行一个验证,是否是真的白屏,同时也可以对白屏的情况更具体的了解。
如何截图
使用html2canvas这个库,库根据 DOM 信息将其转换成 canvas 对象,然后将 canvas 对象转换成 base64 格式的图片数据。
const generateImageBase64 = () =>
  new Promise((rs, rj) => {
    html2canvas(document.querySelector('body'), {
      quality: 0.3,
      scale: 0.7,
      width: window.innerWidth,
      height: window.innerHeight,
      ignoreElements: (el) => el.nodeName === 'IMG',
    })
      .then((canvas) => {
        rs(canvas.toDataURL());
      })
      .catch((e) => {
        // rj('html2canvas截图失败')
        rj(e);
      });
  });

const screenShot = async () => {
  const start = Date.now();
  return new Promise((rs, rj) => {
    if (
      typeof html2canvas != 'undefined' &&
      Object.prototype.toString.call(html2canvas) === '[object Function]'
    ) {
      console.log('html2canvas存在,开始截屏');
      generateImageBase64()
        .then((res) => {
          console.log('完成截图,共花: ', Date.now() - start, ' ms');
          rs(res);
        })
        .catch((e) => rj(e));
    } else {
      console.log('html2canvas不存在,引入库');
      const script = document.createElement('script');
      script.src = 'https://html2canvas.hertzen.com/dist/html2canvas.min.js';
      document.head.appendChild(script);
      script.onload = async () => {
        generateImageBase64()
          .then((res) => {
            console.log('完成截图,共花: ', Date.now() - start, ' ms');
            rs(res);
          })
          .catch((e) => rj(e));
      };
    }
  });
};